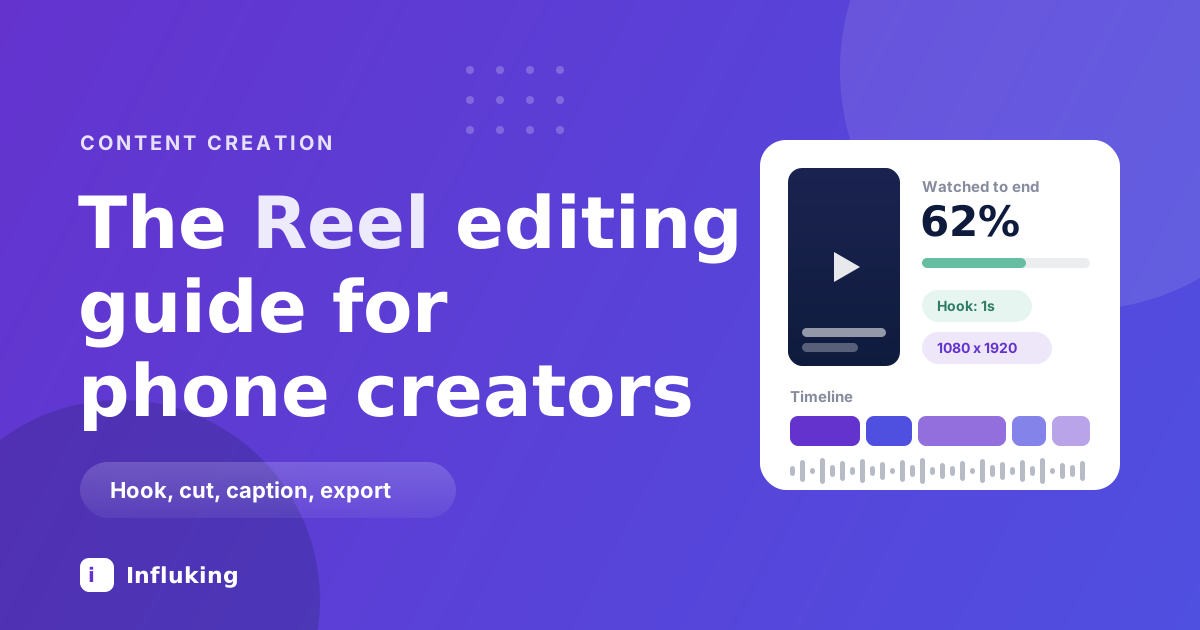
Two creators can film the same thing in the same kitchen with the same phone, and one Reel gets 800 views while the other gets 80,000. Most of that gap is the edit. Reel editing is where a decent clip becomes something people watch to the end, and watch time is the number Instagram cares about most when it decides who else sees your video.
This guide walks through the whole process on a phone, in the order you would actually do it. No desktop software, no paid plugins.
What the edit is really for
Every editing decision you make is answering one question: why should someone keep watching for another second? That is it. Instagram measures how long people stay, whether they rewatch, and whether they save or share. A Reel that holds attention gets pushed to non-followers, which is how accounts grow.
So the goal of editing is not to look cinematic. It is to remove every moment where a viewer might drift. Dead air at the start, a sentence that takes too long to arrive, a shot that lingers after the point is made. Cut all of it.
Shoot so the edit is easy
Half of editing problems are shooting problems. A few habits on set save you an hour later.
- Film vertically at 1080 x 1920. Cropping a horizontal clip to 9:16 throws away most of your frame and softens the image.
- Leave room at the top and bottom. Instagram covers roughly the top 250 pixels and bottom 400 with the caption, username and buttons. Keep faces and text in the middle.
- Shoot more than you need. Three takes of a line gives you options. One take gives you a problem.
- Get a second angle. Even a wide and a close-up of the same action lets you cut on movement instead of jumping awkwardly.
- Record clean audio. If people are talking, film somewhere quiet or use a cheap clip-on mic. Nothing in editing rescues bad audio.
If your raw footage still looks flat, the problem is usually light rather than gear. Our mobile photography guide covers the light and framing side in detail, and all of it applies to video.
The first second decides everything
You get about one second before a thumb keeps moving. Open on the most interesting frame you have, not on a build-up. If the Reel shows a finished plate of pasta, the pasta goes first and the chopping comes after.
Three openings that reliably hold people:
- The result first. Show the outcome, then rewind and explain how you got there.
- Motion into the lens. A hand, an object or your own face arriving in frame reads as movement, and movement stops the scroll.
- A sentence that creates a gap. "I priced this wrong for two years" makes people wait for the answer. "Hi guys, welcome back" does not.
Cut your intro entirely. Every greeting, every "so today I wanted to talk about". Start at the second sentence you filmed. It will feel abrupt to you and normal to everyone else.
Cutting for pace
Pace is the difference between a Reel that feels tight and one that feels long, even at the same length. The technique is simple and slightly ruthless.
- Trim the tops and tails. Cut every clip so it starts the instant something happens and ends the instant it stops. The breath before you speak and the pause after are both dead weight.
- Cut on the action. If a hand reaches for a jar, cut mid-reach and land on the jar already moving. The eye follows the motion across the cut and never notices it.
- Change something every two to four seconds. A new angle, a zoom, a text pop, a b-roll insert. It does not have to be a hard cut, it just has to be a change.
- Speed up the boring middle. Any process shot can run at 2x or 4x. Nobody needs to watch dough being kneaded in real time.
- Do one silent pass. Mute your Reel and scrub through it. Any moment that looks static will feel slow with sound too.
On length, shorter almost always wins for reach because it is easier to finish a 15 second Reel than a 60 second one. Save the longer edits for content where the payoff genuinely needs the time, like a tutorial or a story.
Captions that actually get read
A large share of your viewers have the sound off, and Instagram now shows most Reels muted on first appearance in some placements. Captions are not an accessibility afterthought, they are how the video works.
- Auto-caption, then fix it. CapCut and Instagram both transcribe automatically. Both will mangle names, brand words and anything in a mixed language, so read it once and correct it.
- One or two lines at a time. Big enough to read on a small screen, never more than about six words on screen at once.
- Keep them in the safe middle. Around the centre of the frame, well clear of the interface at the bottom.
- Pick one font and stay with it. A consistent caption style across your Reels does more for recognition than most people expect. Bold sans-serif with a slight shadow or outline reads on any background.
- Do not put words over faces. Obvious, and still the most common mistake.
Text is also how you carry a hook. A short on-screen line in the first second, matching what you say out loud, gives the muted viewer a reason to stay.
Audio, and cutting to the beat
Trending audio helps a Reel travel, but only if the cut respects it. Editing to the beat is the single upgrade that makes amateur Reels feel professional.
In CapCut, add your track, tap the audio and use beat markers to drop points on the timeline. Then align your cuts to those markers instead of eyeballing them. Even four cuts landing exactly on the beat changes how the whole thing feels.
A few rules that hold up:
- If someone is talking, keep music at roughly 10 to 20 percent volume so it sits under the voice rather than fighting it.
- Pick audio you can hear the beat in. Ambient tracks give you nothing to cut against.
- Add the trending sound inside Instagram if you can, since audio added in a third-party app sometimes will not register as that trending track.
- Business accounts have a smaller commercial music library. If a track is greyed out for you, that is why, and using it anyway risks the audio being stripped.
Transitions, used sparingly
Most fancy transitions age badly and distract from the point. Three are worth keeping in rotation. A whip pan, where you swing the phone at the end of one shot and the start of the next, then cut in the blur. A match cut, where an object in the same position links two shots. And a simple hard cut, which is right far more often than people believe.
Skip the built-in glitch, star wipe and zoom-flash presets. They look like the app made your video, because it did.
Colour and clean-up
Keep this light. Lift the exposure a little if it is dim, add a small amount of contrast and saturation, and sharpen slightly. That is usually enough.
What matters more than a look is consistency. Using the same small adjustment on every Reel makes your grid feel deliberate, which is a real part of building a personal brand on Instagram. Heavy filters date fast and hide detail, especially on skin and food.
Export settings that keep your quality
This is where people lose sharpness they worked hard for, and it is entirely avoidable.
- Resolution: 1080 x 1920, 9:16.
- Frame rate: 30fps for talking content, 60fps if you shot slow motion or fast action.
- Format: MP4, H.264.
- Bitrate: as high as your app allows, ideally 10 Mbps or more. Instagram re-compresses everything, so give it a good file to start from.
- Upload over wifi. On a weak connection Instagram will process a lower-quality version and it stays that way.
One more thing worth checking: in your Instagram settings, turn on the option to upload at the highest quality. It is off by default on some accounts.
A workflow you can repeat
Editing gets fast when it stops being a creative decision every time. This sequence takes 20 to 30 minutes once you have done it a few times.
- Drop all clips on the timeline in rough order.
- Cut the intro and put the strongest frame first.
- Trim the top and tail of every clip.
- Add audio and mark the beats.
- Align your cuts to those marks and speed up any slow stretch.
- Auto-caption, then fix the errors and place the text safely.
- Add the on-screen hook line.
- Light colour adjustment.
- Watch it once muted and once with sound, then cut one more second from somewhere.
- Export at 1080 x 1920 and upload over wifi.
Batching helps here too. Editing four Reels back to back is much quicker than editing four Reels on four different days.
Which app to edit Reels in
CapCut is what most creators use, and for good reason: beat markers, decent auto-captions, keyframes and speed ramping, all free on a phone. InShot is simpler and fine if you mostly need trims, text and music. VN sits between them and appeals to people who want a real timeline without much of a learning curve. Instagram's own editor is best kept for last-minute text and for adding trending audio.
The app matters far less than the habits. A tight edit in InShot beats a sloppy edit in anything.
Reel editing mistakes to stop making
- A slow first second. The most expensive mistake in the whole list.
- Editing horizontal footage into a vertical frame. You lose resolution and end up with awkward black bars or crops.
- Captions behind the interface. Always preview before you post, not after.
- Music louder than the voice. If viewers cannot catch the words, they leave.
- Too many transitions. They read as filler, and filler reads as no point.
- Exporting at 720p. Instagram compresses on top of your compression, and it shows.
- Leaving the last second long. End on the payoff. A trailing pause kills the loop and the rewatch.
Judge the edit by retention, not likes
Open the insights on your last ten Reels and look at the retention graph. A steep drop in the first three seconds means the hook is wrong. A gradual slide through the middle means the pacing sags, so cut harder. If the graph climbs at the end, people are rewatching, and that Reel deserves a sequel.
That feedback loop is the fastest way to improve. It is also what brands look at when they decide who to work with, because retention says more about your content than follower count ever will. If you want that side of it, our guide to landing your first paid brand collaboration covers how to turn strong Reels into paid work, and Influking matches creators with brands running campaigns.
Nobody edits a great Reel on their first attempt. What separates creators whose Reels perform is that they cut sooner, cut more, and check the retention graph afterwards. Start with the first second and the trims. Those two alone will change your numbers.